Creating a UPI ID within the PNB One mobile app is a straightforward process aimed at enhancing digital banking convenience for Punjab National Bank customers. Users can access the UPI section within the app's menu and select the option to create a new UPI ID. The app guides users through the necessary steps, including linking their bank account, setting up a unique UPI handle, and verifying their details. Once completed, the UPI ID becomes active, enabling seamless fund transfers, bill payments, and other UPI-based transactions directly from the PNB One app. With its intuitive interface and robust security features, PNB One simplifies the UPI ID creation process for users.
Here is a useful step-by-step guide that you can follow to create a UPI ID in PNB One Mobile App.
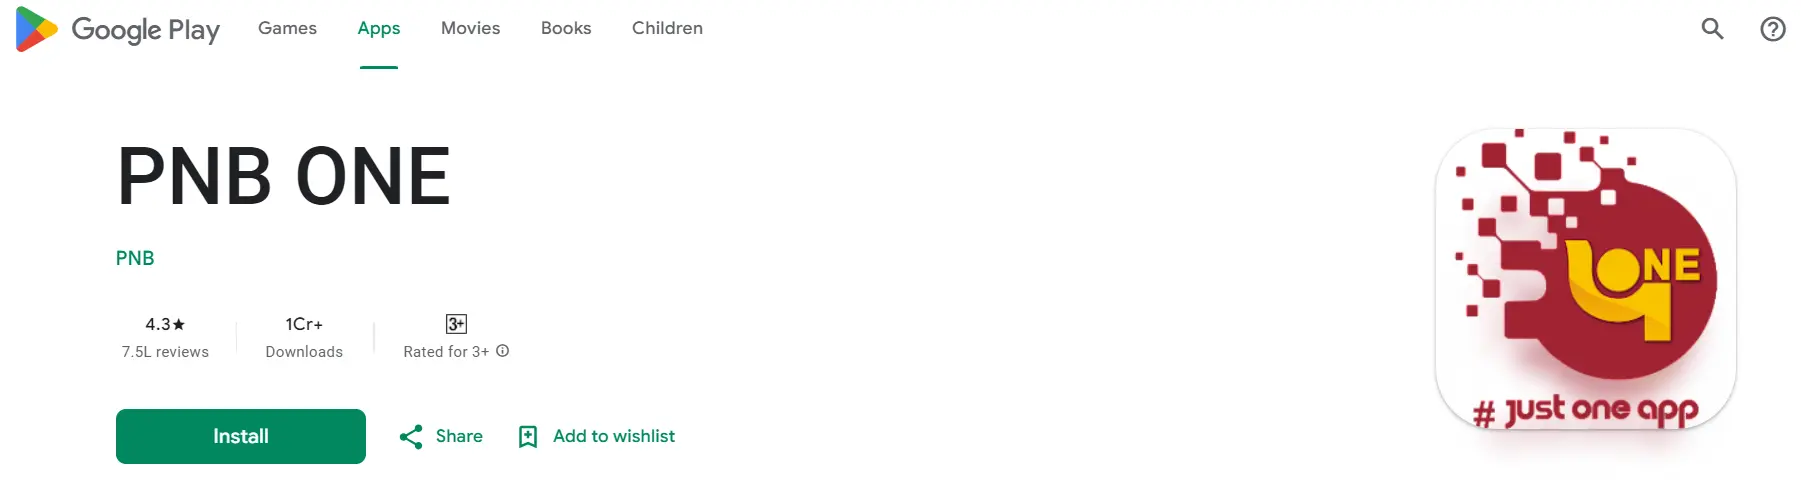
Download the App:
- First, download the PNB One Mobile App from the Google Play Store or Apple App Store if you haven't already.
Registration/Login:
- Open the app and register or log in using your internet banking credentials. If you are a new user, you may need to register first.
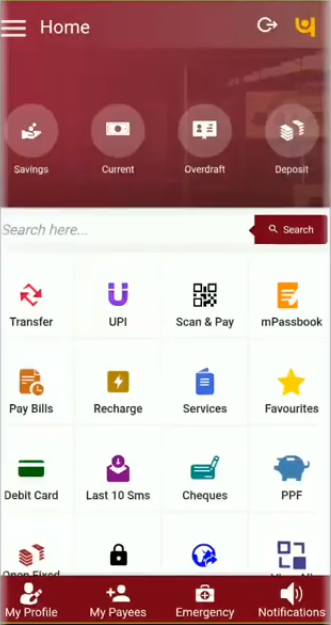
Navigate to UPI Section:
- Once you have logged in, find and select the UPI section in the app. This might be located under the 'Services' or 'Payments' tab.
Select "Create UPI ID":
- Look for the option that allows you to create a UPI ID. It might be labeled as "Create UPI ID" or "Add UPI ID."
Choose a UPI ID:
- Select a unique UPI ID of your choice. Ensure that it is not already in use by another user. Usually, it is a combination of your phone number and the bank's name, but you can customize it according to the guidelines provided in the app.
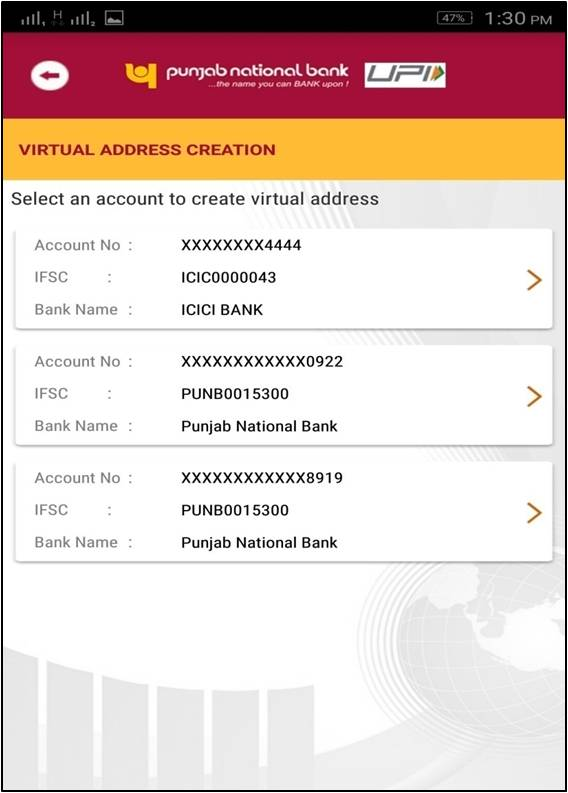
Link or Select your Bank Account:
- You may need to link your bank account to the UPI ID. Provide the necessary details such as your account number, IFSC code, and other information as requested by the app.
Verify Details:
- Verify all the details you have provided for accuracy.
Authentication:
- The app will likely send an OTP (One Time Password) to your registered mobile number for verification. Enter this OTP to authenticate the process.
Confirmation:
- After successful verification, you will receive a confirmation message indicating that your UPI ID has been created and linked to your bank account.
Start Using:
- You can now start using your newly created UPI ID for various transactions, including fund transfers and bill payments.
We hope that you like this content and for more such content Please follow us on our social site and YouTube and subscribe to our website.
Manage your business cash flows and payable/receivables using our Bahi Khata App.